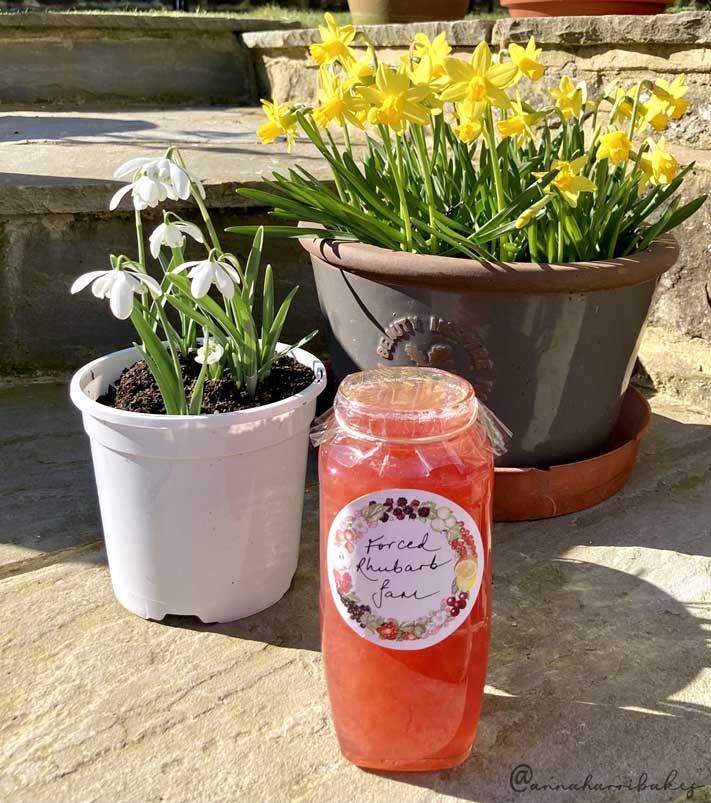
Forced Rhubarb Jam
Is there a prettier jam colour than that of forced rhubarb? Making this jam, for me, brings the kitchen back to life after a winter's slumber. Forced rhubarb is the first harvest of the year, and symbolises the hope of all the growth yet to come.
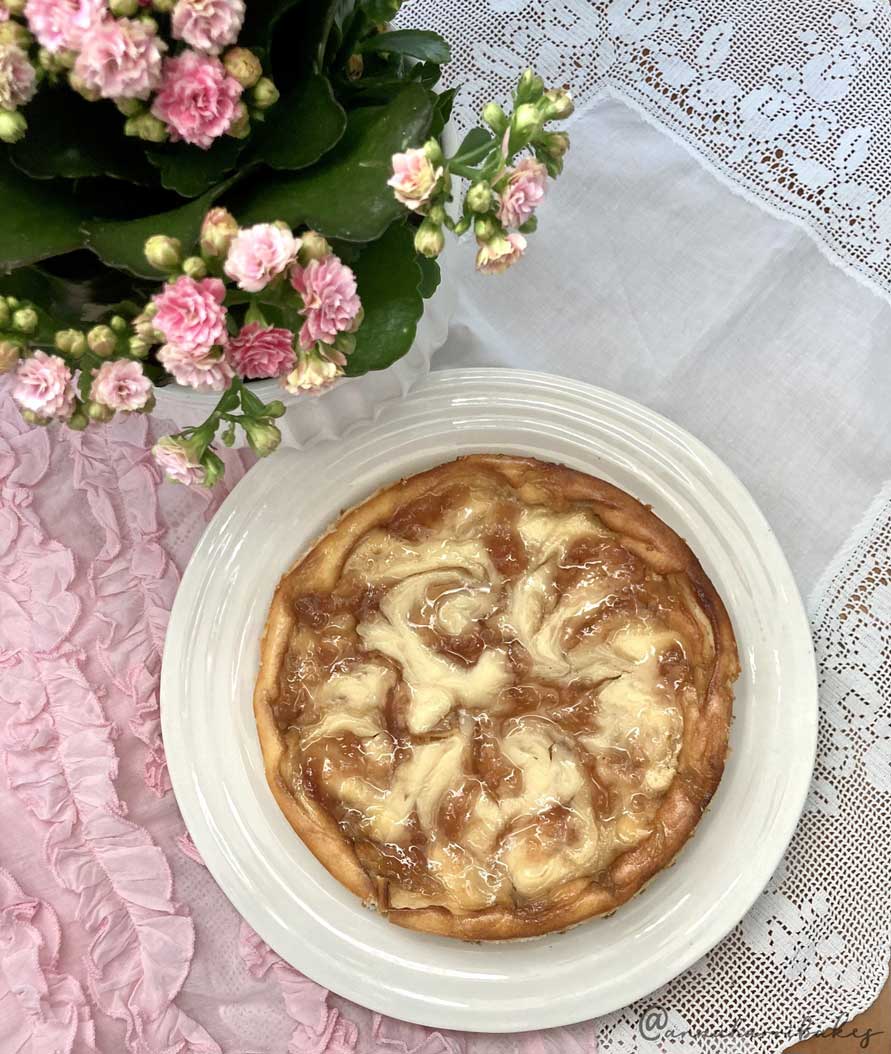
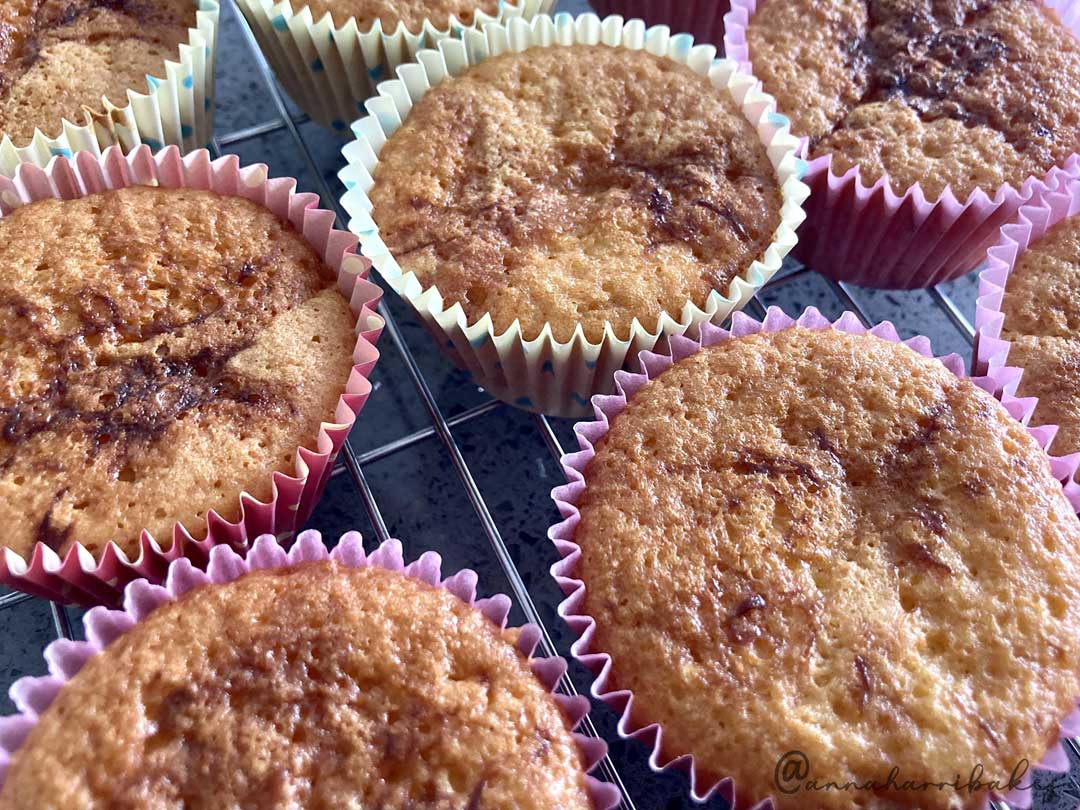
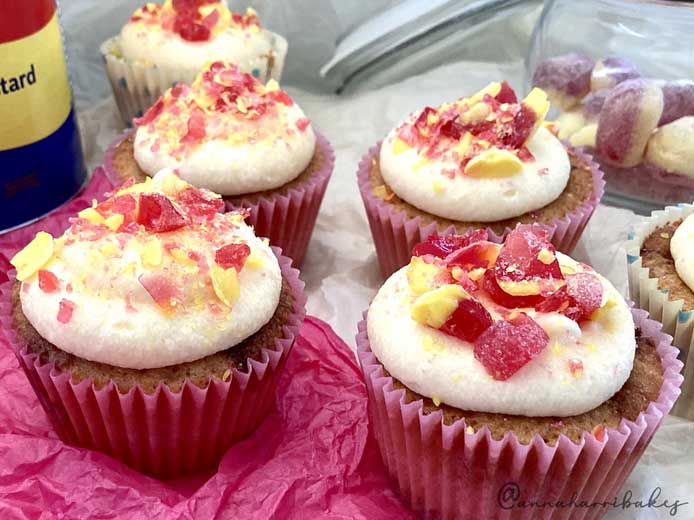
Use this jam as the basis for my baked cheesecake or my retro rhubarb and custard cupcakes, or simply enjoy it on a warm slice of toast. Later in the season, it's wonderful spread on a toasted hot cross bun!
This recipe is very versatile in terms of quantities; simply adjust for the amount of rhubarb you have. However, I'd suggest a minimum quantity of 300g rhubarb (about one standard jar), to make it worth your while. You can make this without a jam thermometer - just keep a close eye on it at all times and remember to perform the flake test (details below). Prepare your jam jars before you start making the jam (find my sterilising instructions here).
Store the jam in the fridge.
Ingredients
Method
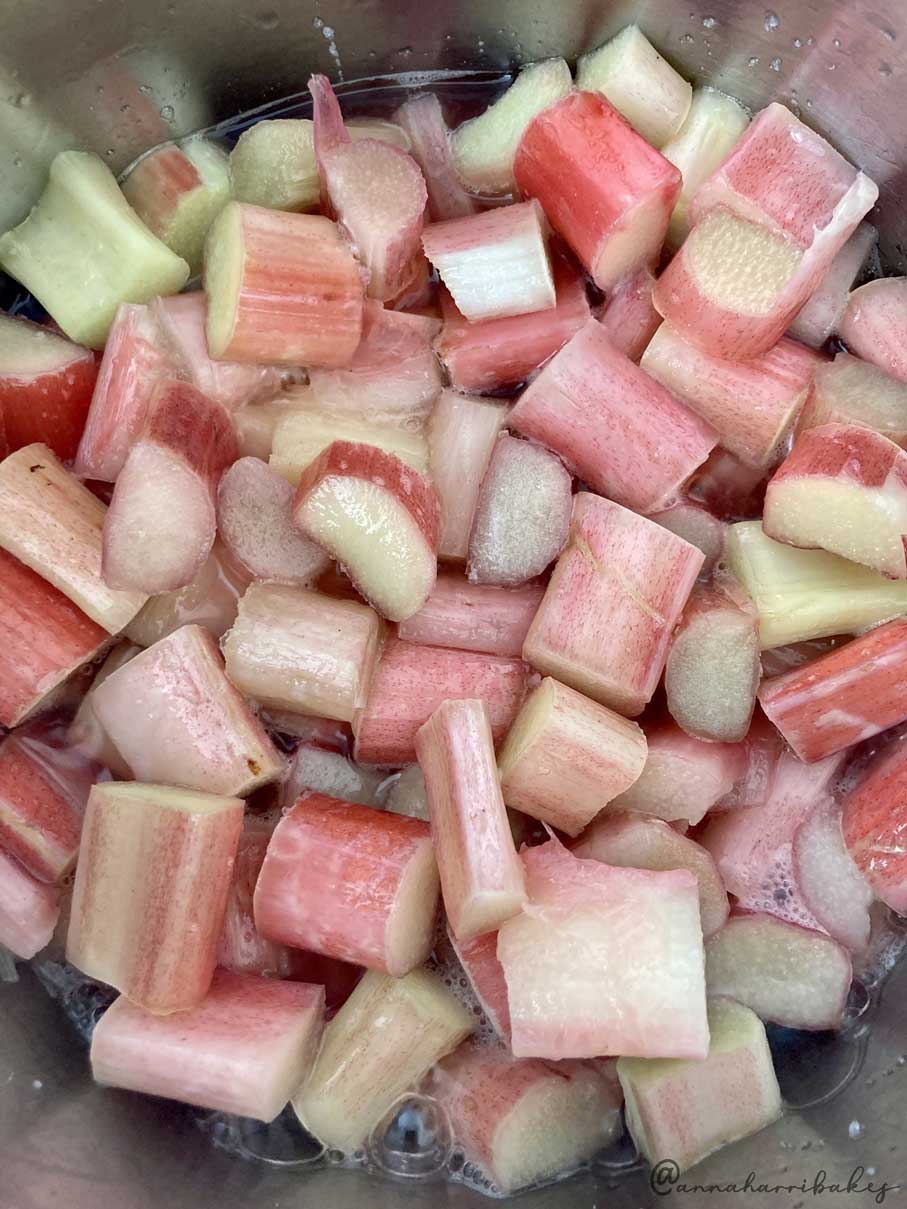
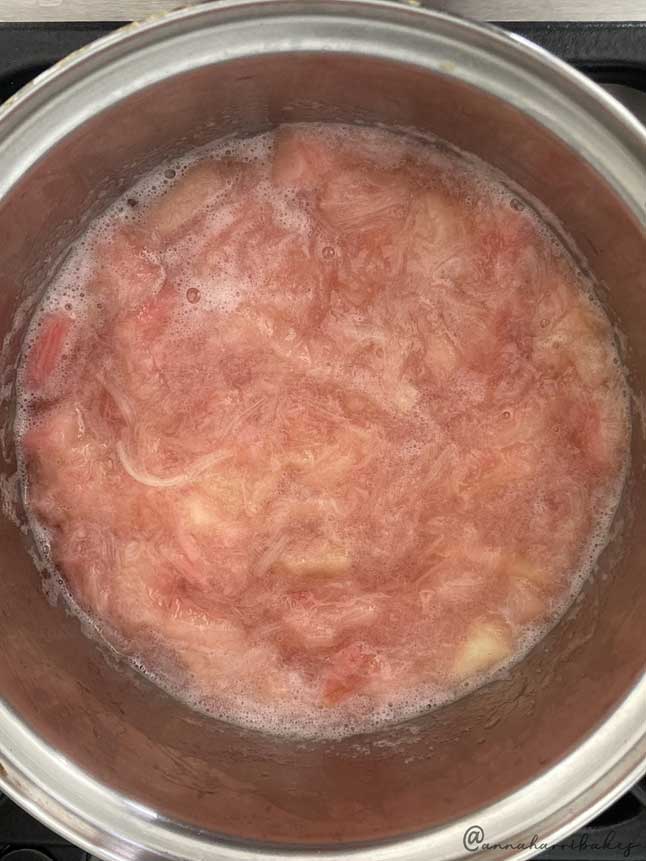
1. Wash and chop the rhubarb into small pieces. Put it into a saucepan with minimum water (just enough to prevent the fruit from burning; the rhubarb will release a lot of water so you don't want to overdo it). Cook it on a low heat with the lid on until the fruit has broken down.
Is there a prettier jam colour than that of forced rhubarb? Making this jam, for me, brings the kitchen back to life after a winter's slumber. Forced rhubarb is the first harvest of the year, and symbolises the hope of all the growth yet to come.
Use this jam as the basis for my baked cheesecake or my retro rhubarb and custard cupcakes, or simply enjoy it on a warm slice of toast. Later in the season, it's wonderful spread on a toasted hot cross bun!
This recipe is very versatile in terms of quantities; simply adjust for the amount of rhubarb you have. However, I'd suggest a minimum quantity of 300g rhubarb (about one standard jar), to make it worth your while. You can make this without a jam thermometer - just keep a close eye on it at all times and remember to perform the flake test (details below). Prepare your jam jars before you start making the jam (find my sterilising instructions here).
Store the jam in the fridge.
Ingredients
- Equal quantities rhubarb and granulated sugar (minimum 300g of each)
- A squeeze of lemon juice (roughly half a lemon per 300g)
- Water
- Sterilised jam jars
- Wax disc, jam labels, jam jar covers/lids
Method
1. Wash and chop the rhubarb into small pieces. Put it into a saucepan with minimum water (just enough to prevent the fruit from burning; the rhubarb will release a lot of water so you don't want to overdo it). Cook it on a low heat with the lid on until the fruit has broken down.
|
|
2. Then add the sugar and the lemon juice and, on a low heat, stir the mixture until the sugar has dissolved.
3. As soon as the sugar has dissolved, bring the mixture to a boil, boiling rapidly. It will gradually thicken: perform the flake test by dipping a wooden spoon into the mixture and watching the jam run off, back into the saucepan. If the jam falls in 'flakes' (running together and then falling in 'flakes' that gather on the edge of the spoon and then run cleanly off the spoon), it's reached setting consistency.
4. When you think it's ready, to double check, turn off the heat and spoon a small quantity onto a clean, cold saucer. Leave it to set for a few minutes, before running a finger across the centre of the pool of jam towards you. If you see that it's crinkling, it's ready. If it doesn't crinkle, return to the heat and perform the two tests again.
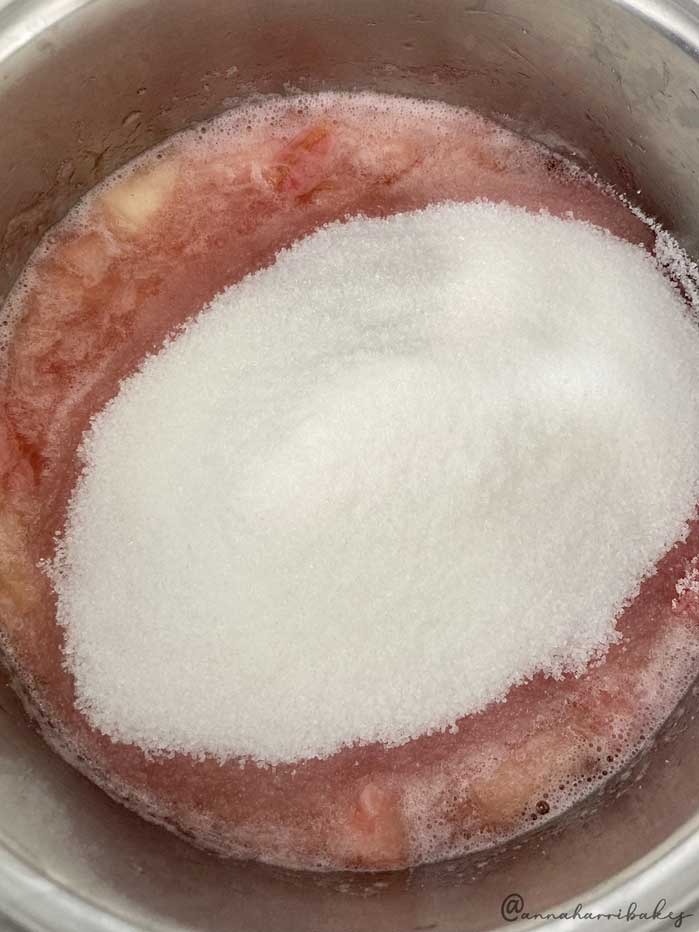
Add the sugar
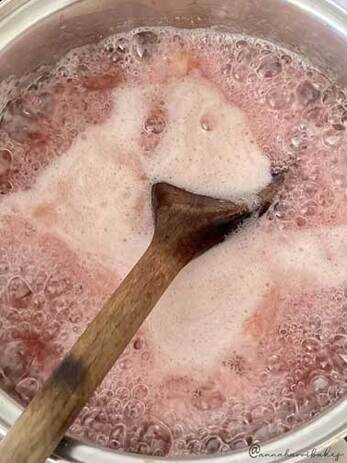
Once the sugar is dissolved, boil rapidly
|
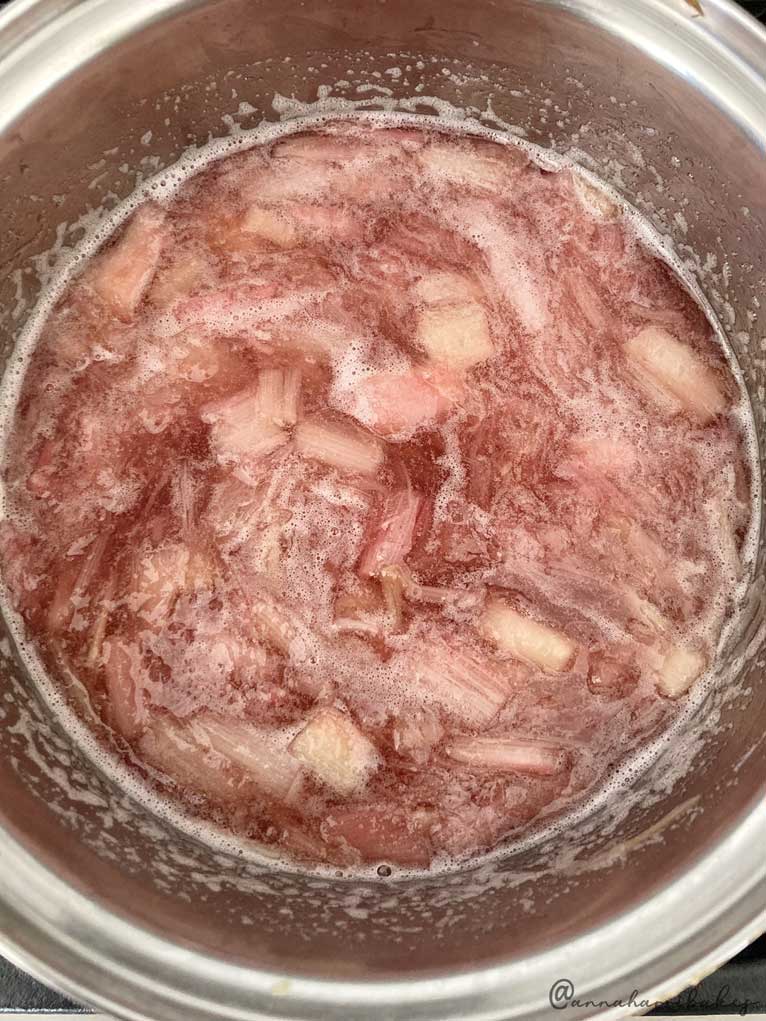
Heat gently to dissolve the sugar
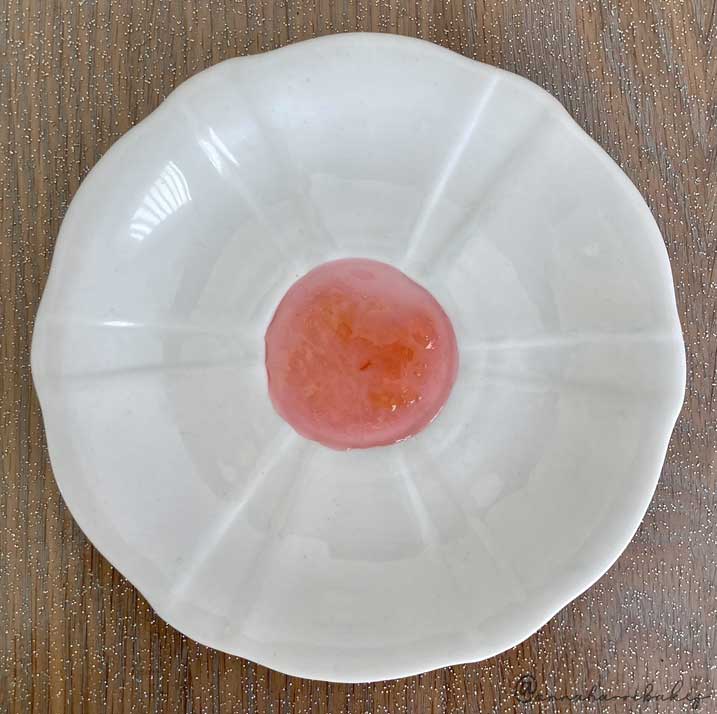
Perform the crinkle test
|
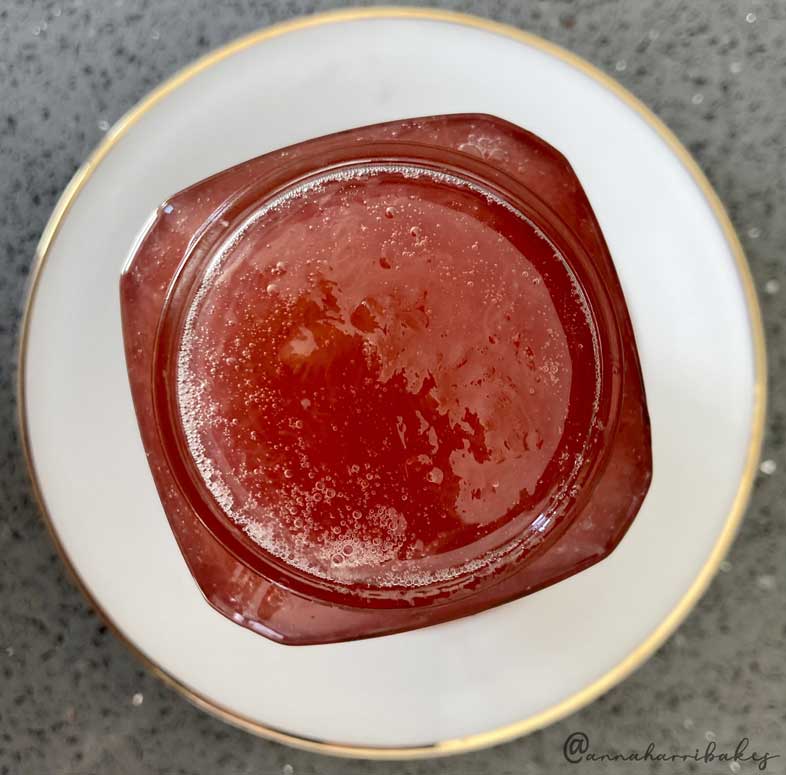
5. Once it's ready, pour the jam immediately into the prepared (sterilised) jam jars. Fill right to the top, and then place a waxed disc over the surface of the jam. Top with a lid/jam cover, and add a label. Store it in the fridge. Click on the pictures below to be directed to my recipes which use rhubarb jam.
|
|