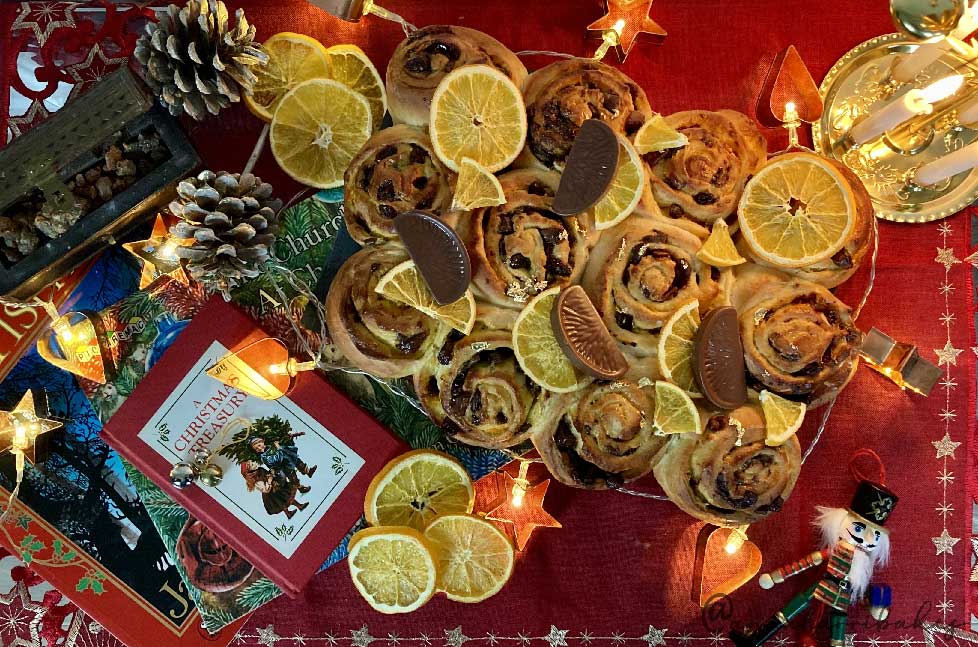
Florence's Chocolate Orange Chelsea Buns
These are a festive take on the classic Chelsea bun, inspired by my niece Florence and our shared love of Terry's Chocolate Orange. Perfect for Christmas Day breakfast!
For a shortcut, use shop-bought orange curd or, at a push, lemon curd.
For the dough
For the filling
Orange Curd
For the topping
Method
1. Make the orange curd first, so that it has enough time to cool. You can make it in advance; it will keep in the fridge. To do so, put the orange juice and zest and sugar into a heatproof bowl and set it over a saucepan of simmering water (a bain-marie). Make sure the water isn't touching the bowl. Keep stirring until the sugar has dissolved.
2. Whisk the eggs and egg yolk together and add them to the mixture. Cook over a gentle heat for about 15-20 minutes, stirring constantly and keeping a close eye on it - don't let it catch, otherwise it could curdle. Keep going until the mixture has thickened and coats the back of a spoon. Then, remove the bowl from the heat, beat in the butter and leave the curd to cool gradually. You can keep it in sterilised jars in the fridge.
3. Then, make the dough. Rub 50g butter into the flour until it disappears.
4. Add the yeast and sugar to the bowl.
5. Warm the milk for a few minutes in a saucepan (this doesn't take long; it should be warm NOT hot). Add the egg to the milk, then pour it over the flour/yeast/sugar mix.
6. Mix well (I tend to use a large fork to help evenly distribute the ingredients), then tip it out onto a lightly dusted surface. Using your hands or a dough scraper (very cheap to buy), stretch and knead it for about 6 minutes until it becomes more elastic - it will be stretchy and soft.
7. Put it back into the bowl, cover it with a tea towel, and leave it in a warm place for about 1h30 until it's doubled in size (if there's any sunlight streaming in, I tend to place the bowl in its direct line). Meanwhile, prepare a baking tray - line it with baking parchment.
8. When it's doubled in size, carefully tip it onto a floured surface and shape it into a rectangle about 30 x 40cm. I use a rolling pin and a little bit of hand stretching.
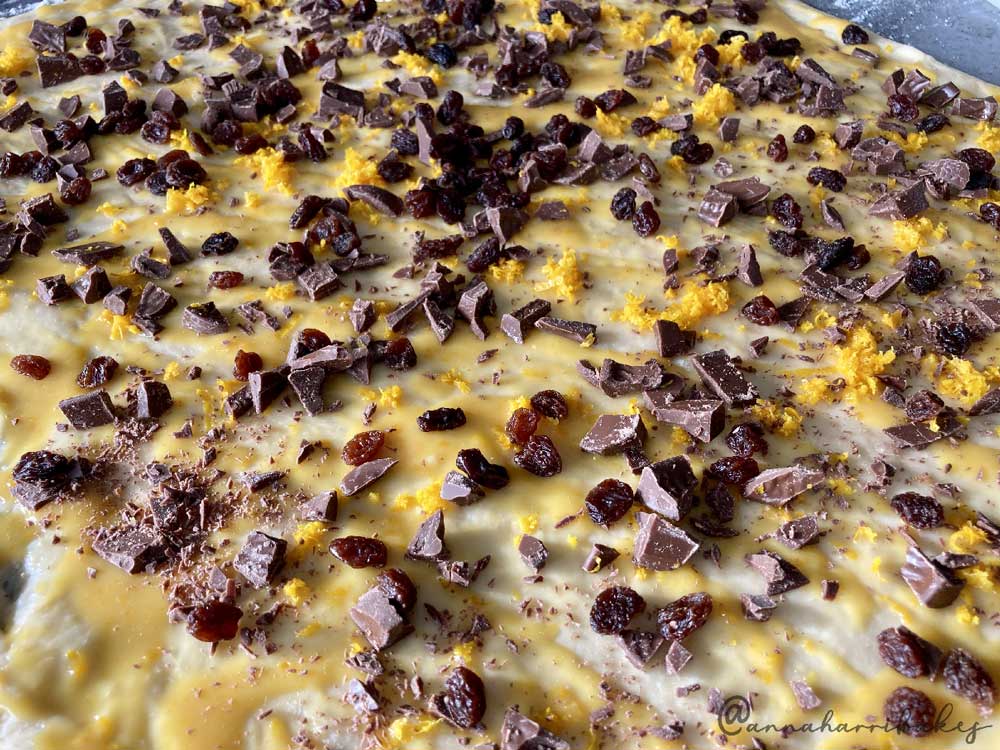
9. Spread the cooled orange curd over the dough liberally. Then, sprinkle over the Terry's Chocolate Orange, zest, and raisins.
These are a festive take on the classic Chelsea bun, inspired by my niece Florence and our shared love of Terry's Chocolate Orange. Perfect for Christmas Day breakfast!
For a shortcut, use shop-bought orange curd or, at a push, lemon curd.
For the dough
- 50g butter
- 450g strong white bread flour, plus extra for dusting
- 7g sachet fast action dried yeast
- 50g caster sugar
- 275g full fat or semi-skimmed milk (slightly warmed through)
- 1 egg
For the filling
- 1 Terry's Chocolate Orange, chopped into small pieces (I tend to reserve a few slices for decoration)
- Zest of three oranges
- 100g raisins
- Orange curd (see recipe below)
Orange Curd
- 2 large oranges, zest and juice
- 200g caster sugar
- 100g unsalted butter, cubed
- 3 eggs, and 1 egg yolk
For the topping
- Edible gold leaf (optional)
- Slices of Terry's Chocolate Orange
- Thin, even slices of dehydrated orange (follow the instructions of a food dehydrator OR bake in a low oven for several hours, turning occasionally, until dry)
- 50g icing sugar
- 2 tbsp orange juice (approx)
Method
1. Make the orange curd first, so that it has enough time to cool. You can make it in advance; it will keep in the fridge. To do so, put the orange juice and zest and sugar into a heatproof bowl and set it over a saucepan of simmering water (a bain-marie). Make sure the water isn't touching the bowl. Keep stirring until the sugar has dissolved.
2. Whisk the eggs and egg yolk together and add them to the mixture. Cook over a gentle heat for about 15-20 minutes, stirring constantly and keeping a close eye on it - don't let it catch, otherwise it could curdle. Keep going until the mixture has thickened and coats the back of a spoon. Then, remove the bowl from the heat, beat in the butter and leave the curd to cool gradually. You can keep it in sterilised jars in the fridge.
3. Then, make the dough. Rub 50g butter into the flour until it disappears.
4. Add the yeast and sugar to the bowl.
5. Warm the milk for a few minutes in a saucepan (this doesn't take long; it should be warm NOT hot). Add the egg to the milk, then pour it over the flour/yeast/sugar mix.
6. Mix well (I tend to use a large fork to help evenly distribute the ingredients), then tip it out onto a lightly dusted surface. Using your hands or a dough scraper (very cheap to buy), stretch and knead it for about 6 minutes until it becomes more elastic - it will be stretchy and soft.
7. Put it back into the bowl, cover it with a tea towel, and leave it in a warm place for about 1h30 until it's doubled in size (if there's any sunlight streaming in, I tend to place the bowl in its direct line). Meanwhile, prepare a baking tray - line it with baking parchment.
8. When it's doubled in size, carefully tip it onto a floured surface and shape it into a rectangle about 30 x 40cm. I use a rolling pin and a little bit of hand stretching.
9. Spread the cooled orange curd over the dough liberally. Then, sprinkle over the Terry's Chocolate Orange, zest, and raisins.
10. Roll the dough from the longest side. To achieve a good spiral, the first few rolls are crucial. Don't press too hard though - a light touch is important. Roll the dough up so you have a long cylindrical shape.
11. Take a sharp knife and cut the dough at the middle point, to create two long cylinders. Then cut each cylinder in half again, so you have four cylinders. Cut each of these into equal thirds, so you have 12 equal pieces.
12. Turn the pieces upright so their filling is on top. Place them onto the baking sheet in a 3 x 4 formation and, with a light touch, reshape them slightly. Top tip! Turn the seams inward facing so, as the buns expand during the final prove and in the oven, their seams are supported by the other buns. Make sure you place the buns near but not quite touching each other.
13. Cover the buns with a tea towel for a final 30 minute prove. Preheat the oven to 180°C fan. The oven needs to have reached temperature when you put the buns in.
14. Bake the buns for about 20-25 minutes until golden. The middle buns can take a bit longer - you may want to place some foil over the outside buns during the final stage of cooking if you want the middle ones to brown up a bit more.
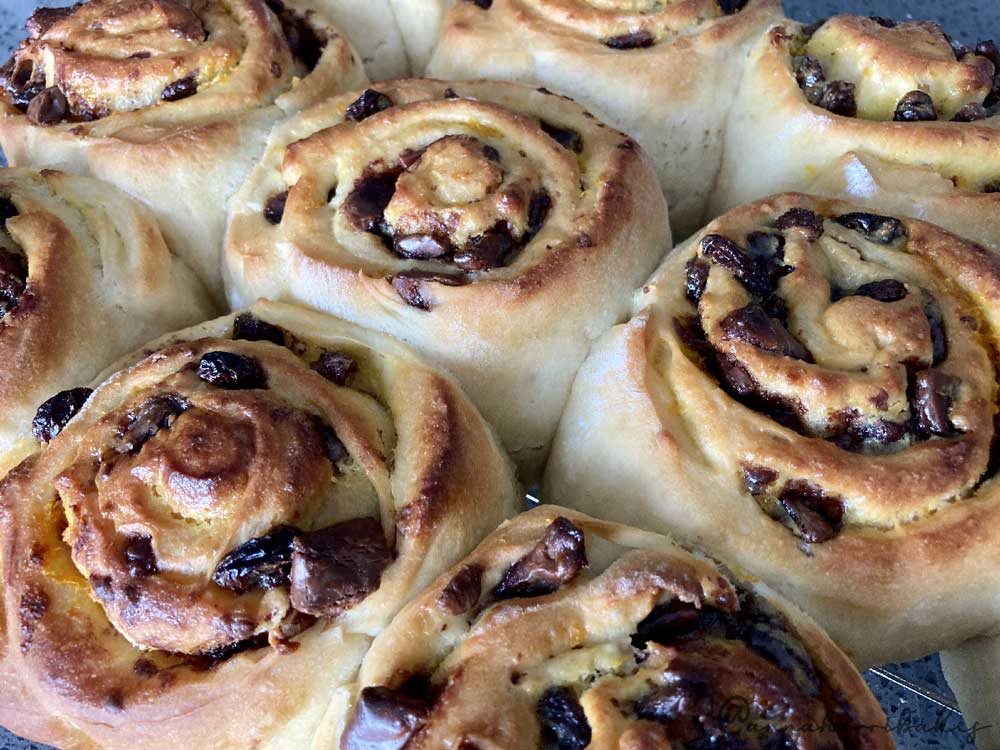
15. Transfer them to a cooling rack. Once cool, begin the decorating!
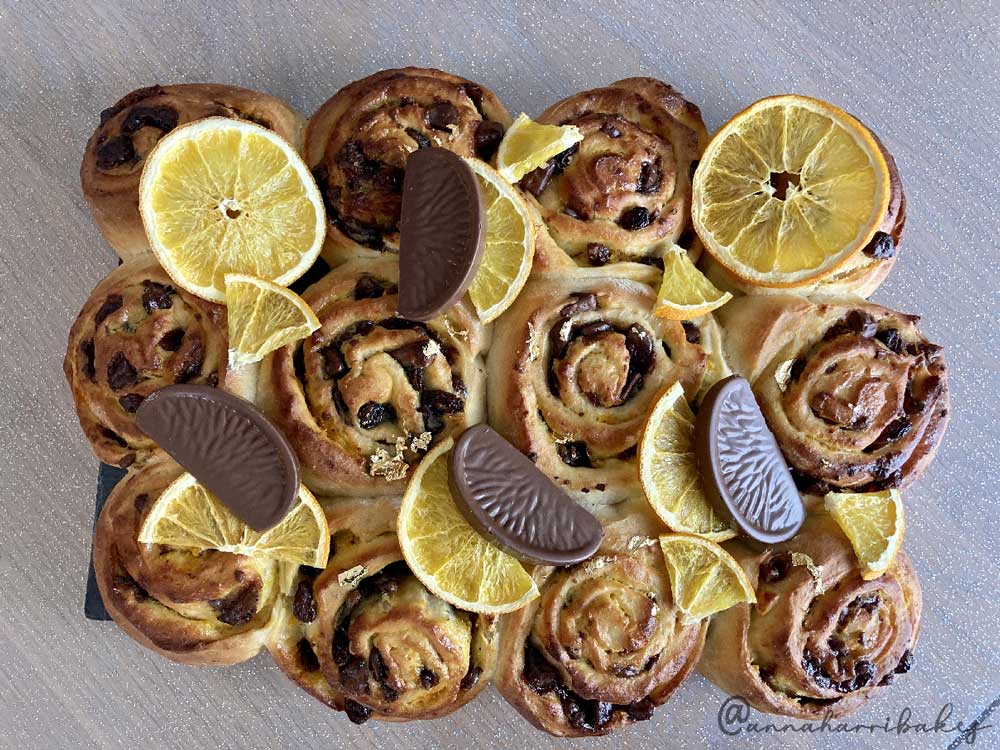
16. Mix the icing sugar and orange juice until it's a fairly thick paste (you may not require all of the juice; add it gradually). Drizzle it over the buns. You could add some lemon juice to contrast with the orange juice, if you wish. Let the icing set, then add the (optional) gold leaf, Terry's Chocolate Orange slices and dehydrated orange pieces. Serve and enjoy!
If you enjoyed these, why not try my blush orange Chelsea buns next month?