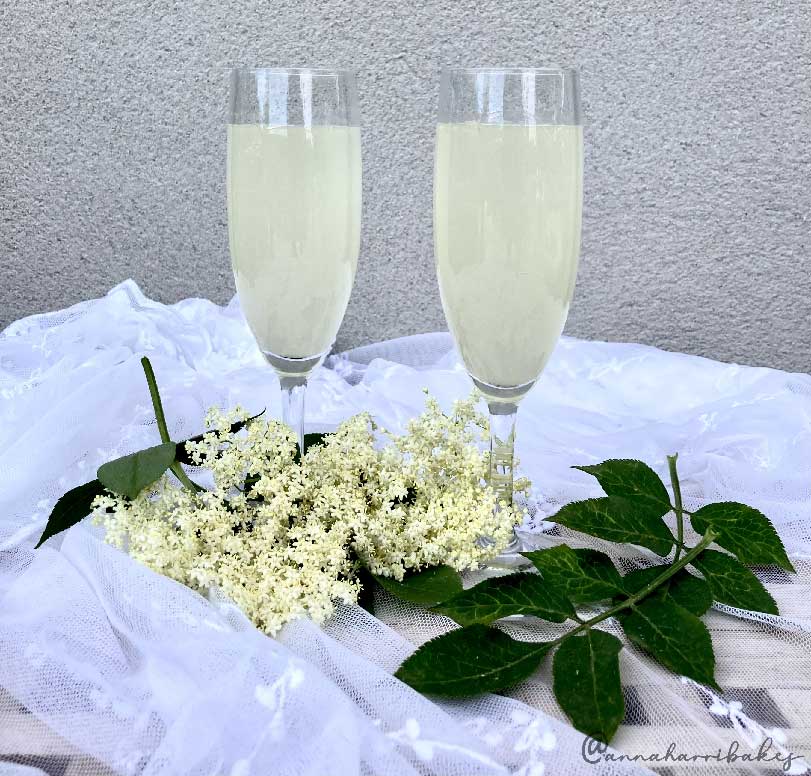
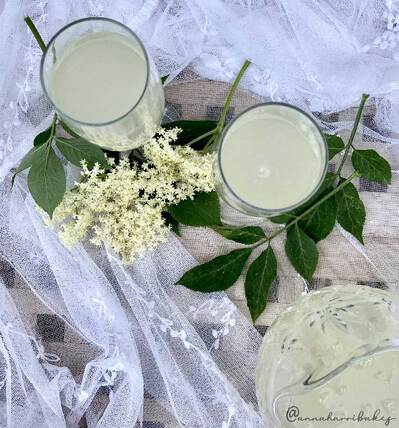
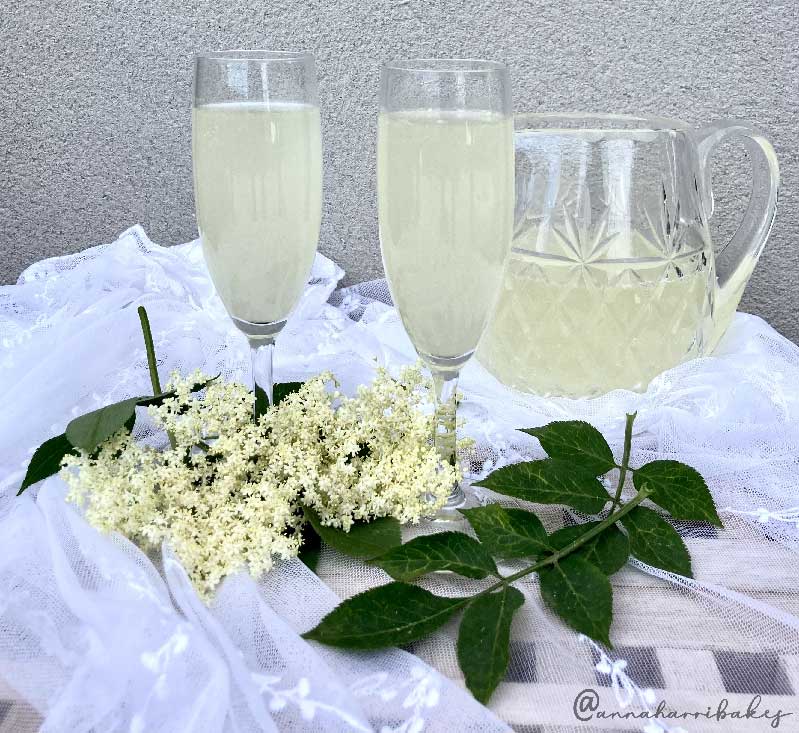
Elderflower Champagne
There are many recipes online for elderflower champagne. The only reason why I'm adding to the pile is because I struggled with making it: despite following all the (sometimes vague) instructions, my first batch of champagne failed miserably. The following year, I resolved to crack it and the results were delicious: refreshing, zingy, summery. So, this recipe is hard-won and, now, fail-safe.
You do need a bit of equipment when making elderflower champagne: preferably, two large (10 litre) food-safe buckets, some muslin fabric to filter the liquid, and a jug (I use a siphon, a dandelion-wine lockdown purchase, but you can get away with using a jug). Plastic bottles are essential - don't attempt to store the champagne in glass bottles because they could explode. If you plan to store your champagne rather than enjoying it straight away, it's also a good idea to sterilise all the equipment (including the buckets). You can purchase sterilising tablets from online brewing companies. If you don't sterilise the equipment, just make sure it's scrupulously clean - use boiling water where possible. I also recommend purchasing good quality champagne yeast: I use Lalvin EC-1118 (eBay sells these in 5g and 10g packets).
While the process might seem a bit of a hassle, in fact you can do it at a leisurely pace over one weekend in early/mid June (starting on Friday evening with a stroll to collect the elderflowers), and it only requires brief intervention at critical stages. The champagne will be ready for you to enjoy the following weekend!
This recipe makes approximately 8 litres of champagne. Store the bottles in a cool place, such as a garage, and then simply put them in the fridge a few hours before serving. I serve mine a week after the initial brewing, which seems to be the optimum time elapse in terms of taste and fizz.
Ingredients
1. Pour the sugar into one of the large buckets, and then pour the boiling water over it. Stir until dissolved. Place a clean tea towel over the top and place it outside (or in a cool place) to cool.
2. Meanwhile, clean the elderflower heads. To do this, shake them vigorously and then swirl each head briefly around in a large bowl of cold water. Place on kitchen towel.
3. Prepare the lemons by using a peeler to remove strips of peel from each lemon. Then, juice one of the lemons.
4. Once the sugar solution is cool, top it up with the rest of the water. Add the elderflower, lemon peel, lemon juice, and sprinkle over the yeast. Stir gently but thoroughly. Cover it with a clean tea towel and leave it to ferment for two days. (I stir up all the ingredients on Friday night, which means I can bottle the champagne by Sunday evening). Check on it twice a day, stirring the mixture each time with a wooden spoon, and then re-covering with a tea towel.
There are many recipes online for elderflower champagne. The only reason why I'm adding to the pile is because I struggled with making it: despite following all the (sometimes vague) instructions, my first batch of champagne failed miserably. The following year, I resolved to crack it and the results were delicious: refreshing, zingy, summery. So, this recipe is hard-won and, now, fail-safe.
You do need a bit of equipment when making elderflower champagne: preferably, two large (10 litre) food-safe buckets, some muslin fabric to filter the liquid, and a jug (I use a siphon, a dandelion-wine lockdown purchase, but you can get away with using a jug). Plastic bottles are essential - don't attempt to store the champagne in glass bottles because they could explode. If you plan to store your champagne rather than enjoying it straight away, it's also a good idea to sterilise all the equipment (including the buckets). You can purchase sterilising tablets from online brewing companies. If you don't sterilise the equipment, just make sure it's scrupulously clean - use boiling water where possible. I also recommend purchasing good quality champagne yeast: I use Lalvin EC-1118 (eBay sells these in 5g and 10g packets).
While the process might seem a bit of a hassle, in fact you can do it at a leisurely pace over one weekend in early/mid June (starting on Friday evening with a stroll to collect the elderflowers), and it only requires brief intervention at critical stages. The champagne will be ready for you to enjoy the following weekend!
This recipe makes approximately 8 litres of champagne. Store the bottles in a cool place, such as a garage, and then simply put them in the fridge a few hours before serving. I serve mine a week after the initial brewing, which seems to be the optimum time elapse in terms of taste and fizz.
Ingredients
- Between 15-20 elderflower heads, depending on size (aim for a mixture of small and large heads and you'll be fine)
- 2 litres boiling water
- 8 litres water (normal tap temperature)
- 1kg granulated sugar
- 3 lemons
- 5g champagne yeast (I use Lalvin EC-1118)
- 2 x 10 litre food-safe buckets
- Muslin fabric or fine sieve
- Large elastic band
- Jug or siphon
- 4 x 2 litre plastic bottles
1. Pour the sugar into one of the large buckets, and then pour the boiling water over it. Stir until dissolved. Place a clean tea towel over the top and place it outside (or in a cool place) to cool.
2. Meanwhile, clean the elderflower heads. To do this, shake them vigorously and then swirl each head briefly around in a large bowl of cold water. Place on kitchen towel.
3. Prepare the lemons by using a peeler to remove strips of peel from each lemon. Then, juice one of the lemons.
4. Once the sugar solution is cool, top it up with the rest of the water. Add the elderflower, lemon peel, lemon juice, and sprinkle over the yeast. Stir gently but thoroughly. Cover it with a clean tea towel and leave it to ferment for two days. (I stir up all the ingredients on Friday night, which means I can bottle the champagne by Sunday evening). Check on it twice a day, stirring the mixture each time with a wooden spoon, and then re-covering with a tea towel.
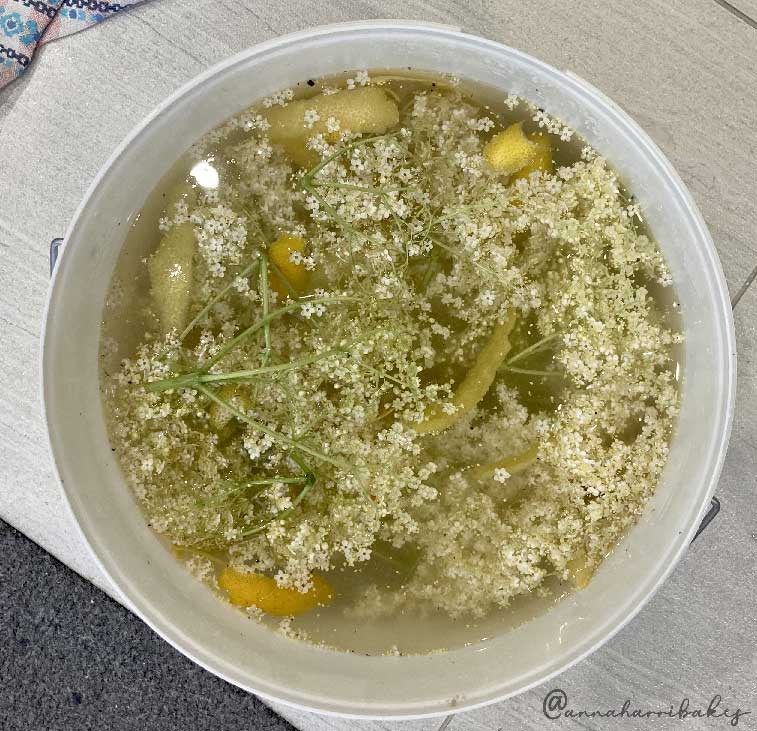
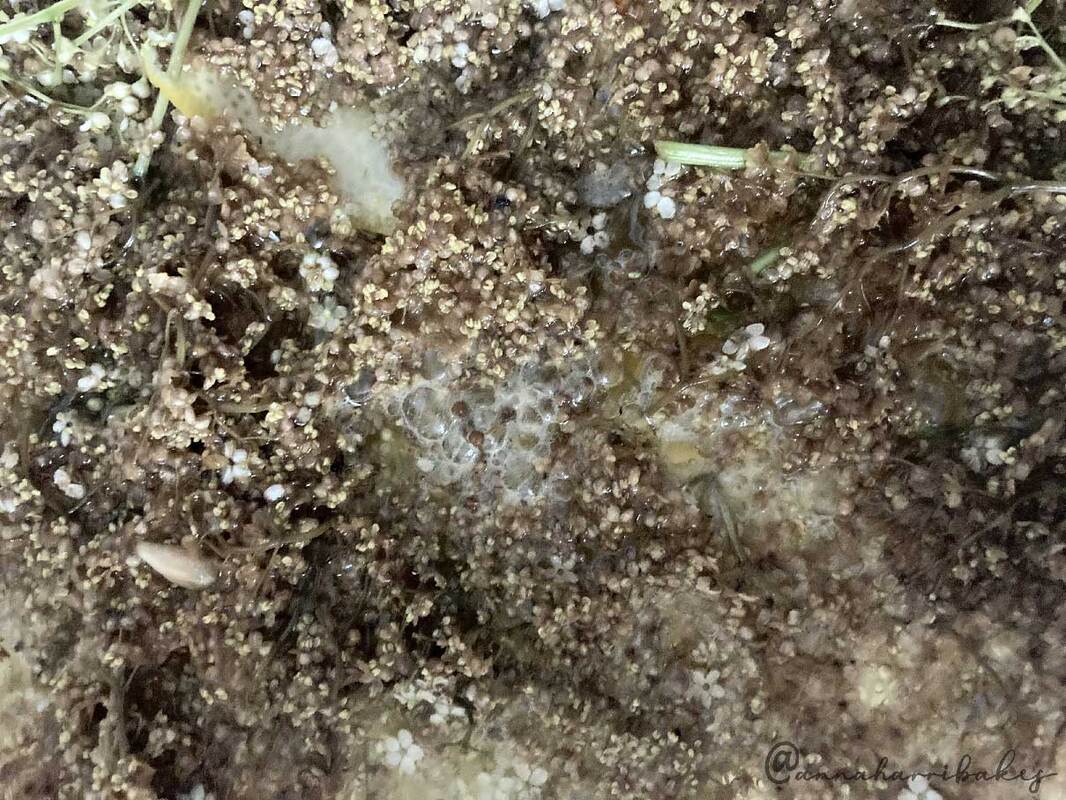
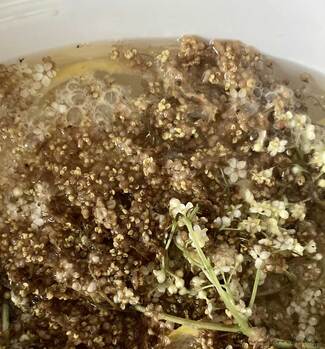
After about a day, you'll begin to see froth forming on the surface and you'll see bubbles continually rising to the surface.
|
|
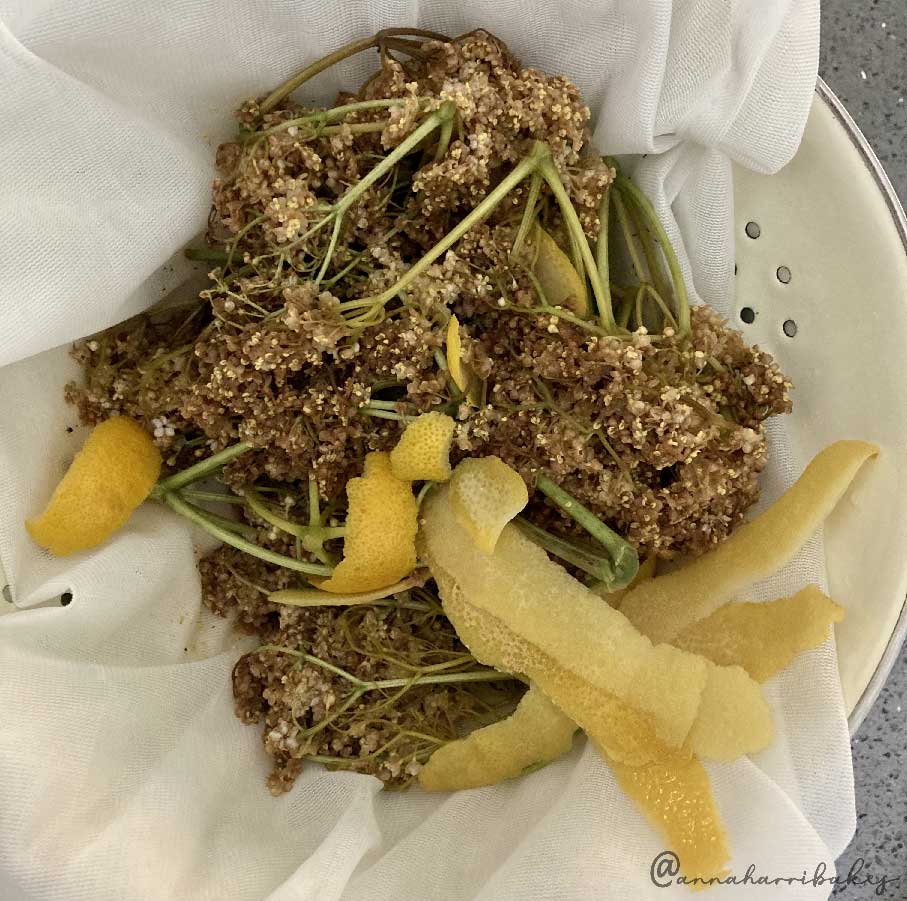
5. After two days and two nights, use a ladle to fish the majority of the bulky ingredients out of the bucket (the elderflower heads and lemon peel). So as not to waste any of the champagne, line a colander with muslin, collect any juice that falls from the extracted ingredients, and return this juice to the main bucket.
6. Then, fit a piece of muslin over the rim of the other bucket, using a large elastic band to secure it in place. Double layering the muslin will help you catch more of the very fine debris. Scoop jugfuls of champagne from the original bucket and pour it through the muslin into the new bucket. If lots of debris remains, repeat this process: clean the original bucket thoroughly, affix the muslin to that bucket and repeat. You'll be left with a light, lemony coloured liquid. Leave it to settle for about 30 minutes; this will allow any remaining sediment to settle at the bottom of the bucket.
7. Use a siphon or jug to fill the plastic bottles with the champagne. Avoid filling the bottles right to the top - the champagne will continue to ferment and needs some space in which to do so (see my photo below). Avoid disturbing the sediment at the very bottom of the bucket - simply throw the final inch or so of liquid away. Store the bottles in a cool place, such as the garage. I suggest placing the bottles in a large plastic container with a lid, or in a cardboard box with a lid, in case of any explosions!
Remove the bulky ingredients
|
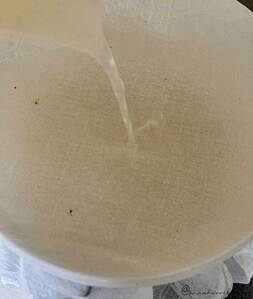
Pass the liquid through fine muslin, to capture any debris
|
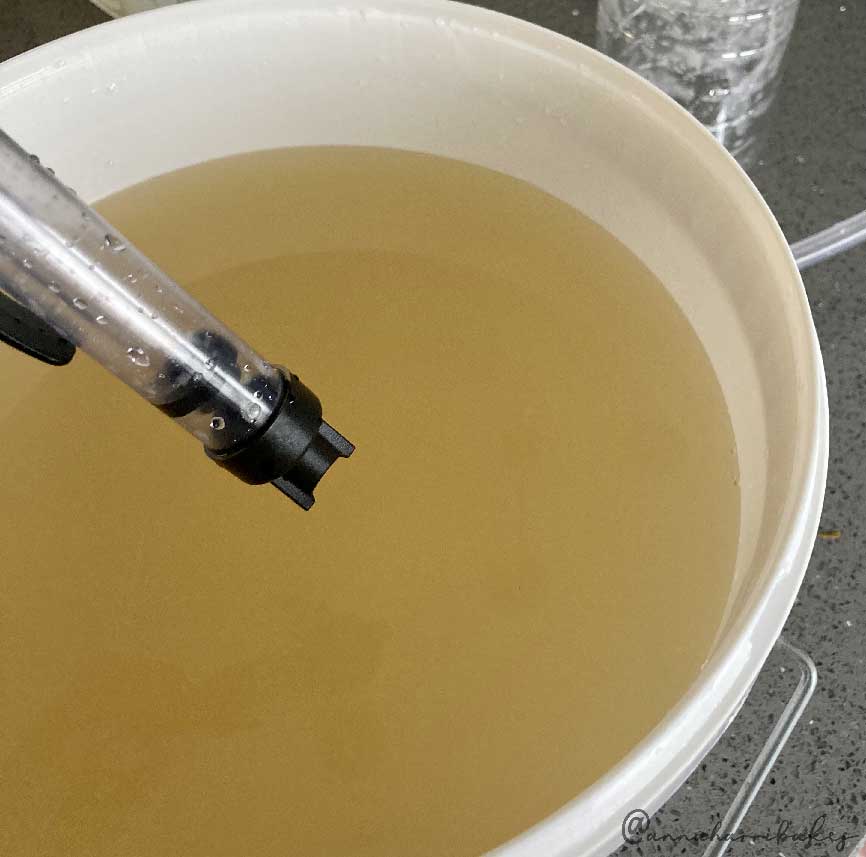
Use a jug or siphon to fill the plastic bottles
|
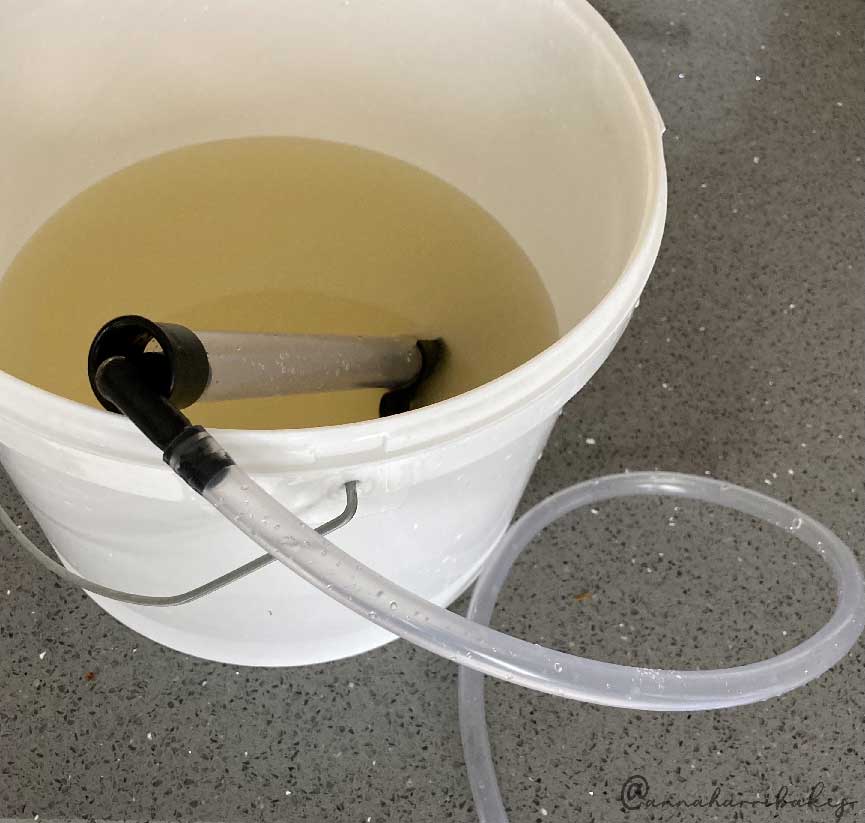
Throw away the final inch or so, to avoid bottling the sediment
|

Leave some space in each bottle for the continued fermentation
|
8. The elderflower champagne will continue to ferment in the bottles. Over the next week, 'burp' the bottles each day. This means slowly and carefully unscrewing the bottles and releasing the gas. After a week of doing this, the elderflower champagne is ready to drink. Place a bottle in the fridge a few hours before serving, and serve with a few ice cubes. Despite the sieving process, sediment will have settled again in the bottle, a byproduct of the continuing reaction: I suggest repeating the muslin filtering process into a serving jug before pouring into glasses.
|
|